How a skyline takes shape in layers
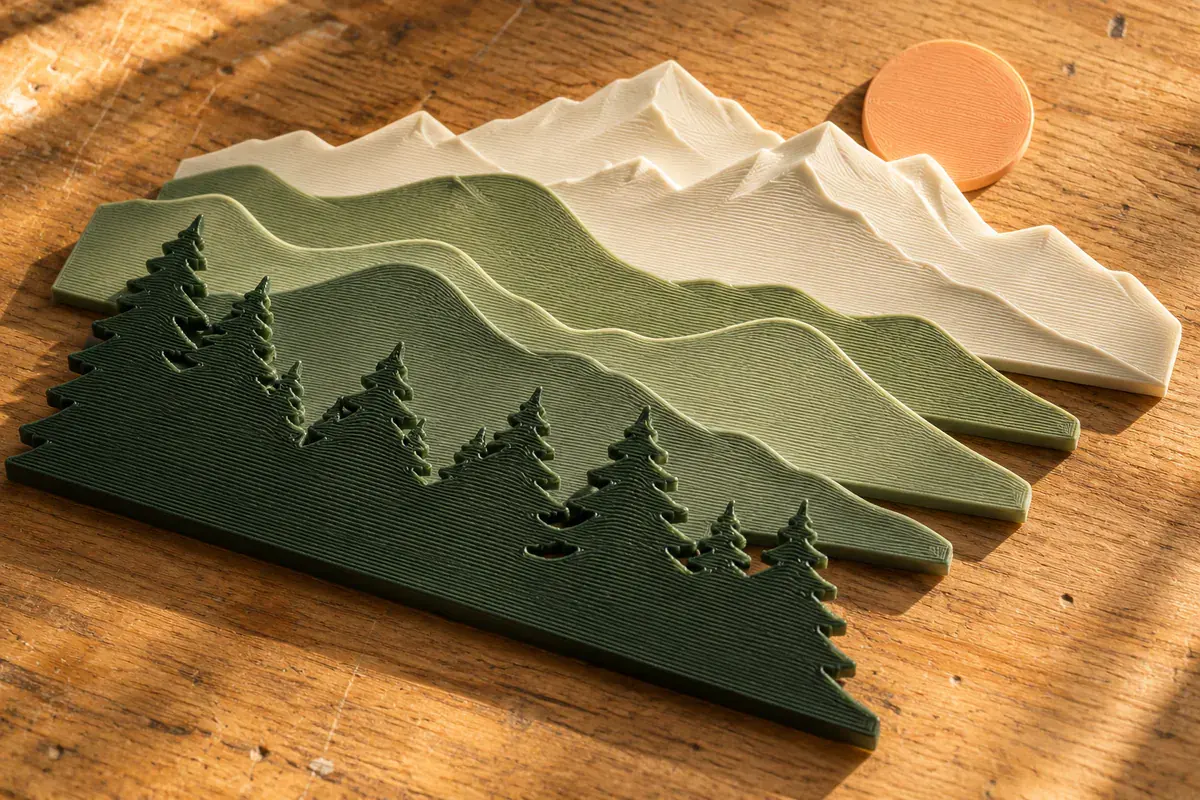
A skyline can lose its identity surprisingly quickly when every roof, window, and ridgeline has the same weight. One way to work on a small framed scene is to take it apart. Give the distance, the city, and the foreground their own outlines, then decide where they should overlap.
Find the line that names the place
Draw the scene in a single dark color. For the Seattle concept, the distinctive profile of the Space Needle gives the eye a place to land. Leave a patch of sky around a landmark. Another roof cutting across its narrowest point can change its silhouette more than you might expect.
Cut a paper version and prop it against a wall. If you can recognize the place at shelf-viewing distance, you have something to build on.
Move one shape at a time
Start with a quiet back layer, such as a sun and a distant ridge. Hold the city layer in front and slide it a little to either side. Watch the places where two outlines almost touch. A deliberate overlap usually reads more clearly than a thin accidental sliver between them.
Add the foreground last. A dark strip near the base gives the scene a foundation. Leave enough of the middle layer showing that the skyline keeps its shape when viewed just off center.
Let the room light finish the picture
Turn the paper layers toward a window and then away from it. The narrow shadows between pieces add a second set of outlines. More space between two layers deepens those shadows, while a smaller gap keeps the shapes visually close.
The framed Seattle design preview explores this with a warm sky, pale mountains, and a darker city. Try the same exercise with the view from your own window. A familiar water tower or low row of houses can be enough to suggest a whole neighborhood.